MetaMask is a free crypto wallet that works as a browser extension or mobile app. It gives you direct access to the Ethereum blockchain and other EVM-compatible networks, such as BNB Chain or Polygon.
It offers a user-friendly interface for storing, sending, and receiving crypto, interacting with decentralized apps (dApps), and managing tokens.
Since it’s a non-custodial wallet, you always control your private keys. MetaMask is a go-to choice for DeFi users, NFT collectors, and anyone diving into Web3.
How to Set Up & Use MetaMask Wallet
It only takes a few minutes to get started with MetaMask and explore Web3. Here are five key features every crypto user should know:
-
Non-Custodial Wallet Setup
MetaMask puts you in complete control of your crypto by letting you manage your private keys from the start. Before starting, install the MetaMask extension on your browser or download the app.
After setting a password and backing up your 12-word recovery phrase, you’re ready to go. Here’s how the setup helps:
Full ownership: You control your keys, not an exchange. This means no third-party access.
Simple interface: Even beginners can follow the guided setup steps.
Seed phrase backup: If you lose your device, you can restore your wallet with the recovery phrase.
Because it’s non-custodial, it’s critical to store your recovery phrase offline. Once set up, you can send and receive crypto or connect to dApps instantly.

-
Multi-Network Access (Ethereum, BNB Chain, More)
MetaMask doesn’t just work on Ethereum—it also supports other chains like Polygon, Avalanche, and BNB Smart Chain.
By adding custom RPCs, you can switch between networks and access cheaper transaction fees or different apps. Let’s look at how to use this feature:
Add networks: You can manually add networks or use sites like Chainlist to do it automatically.
Explore dApps: For example, use MetaMask on BNB Chain to trade on PancakeSwap with lower fees.
Bridge assets: Tools like Synapse Protocol let you bridge tokens between supported networks via MetaMask.
This flexibility makes MetaMask more than just an Ethereum wallet—it’s a gateway to multi-chain DeFi and Web3 ecosystems.

-
Token Management (Custom Tokens Included)
MetaMask automatically shows your ETH balance, but you can also add custom tokens like USDT, APE, or any ERC-20 token.
This helps you track your entire portfolio from one dashboard. Here’s what you can do:
Search tokens: MetaMask suggests popular tokens, but you can also paste a contract address.
Custom assets: Add tokens from new DeFi projects before they’re widely listed.
Organized portfolio: Group tokens by network for easy tracking.
For instance, if you receive a new airdrop token from an NFT project, you can quickly add it by copying its contract ID. This keeps your wallet organized and ready for opportunities.

-
Seamless dApp Integration (DeFi, NFTs, and More)
MetaMask connects directly with hundreds of dApps, letting you lend, stake, trade, or buy NFTs without leaving your browser.
You can approve transactions from within the wallet after connecting your address to a platform. Here’s how you can use it:
NFT platforms: Buy or mint NFTs on sites like OpenSea or Zora.
DeFi protocols: Lend USDC on Aave or swap ETH on Uniswap with one-click wallet access.
GameFi and DAOs: Vote on DAO proposals or play Web3 games like Axie Infinity.
This feature turns MetaMask into your all-in-one DeFi and Web3 passport, streamlining every interaction with decentralized platforms.
-
Swaps Inside MetaMask (Built-In DEX Aggregator)
You don’t need to leave MetaMask to trade tokens—it has a built-in swap feature powered by multiple decentralized exchanges.
This makes it easy to compare rates and swap tokens securely without using external platforms. Here’s why this helps:
Best rates: MetaMask compares prices across sources like Uniswap, 1inch, and others.
Convenience: No need to visit a separate DEX—everything happens in one place.
Security layer: MetaMask handles the approvals and slippage settings automatically.
Let’s say you want to swap ETH for MATIC. Instead of going to a third-party DEX, just click “Swap,” enter the token, and confirm. It’s simple, and often safer for beginners.

-
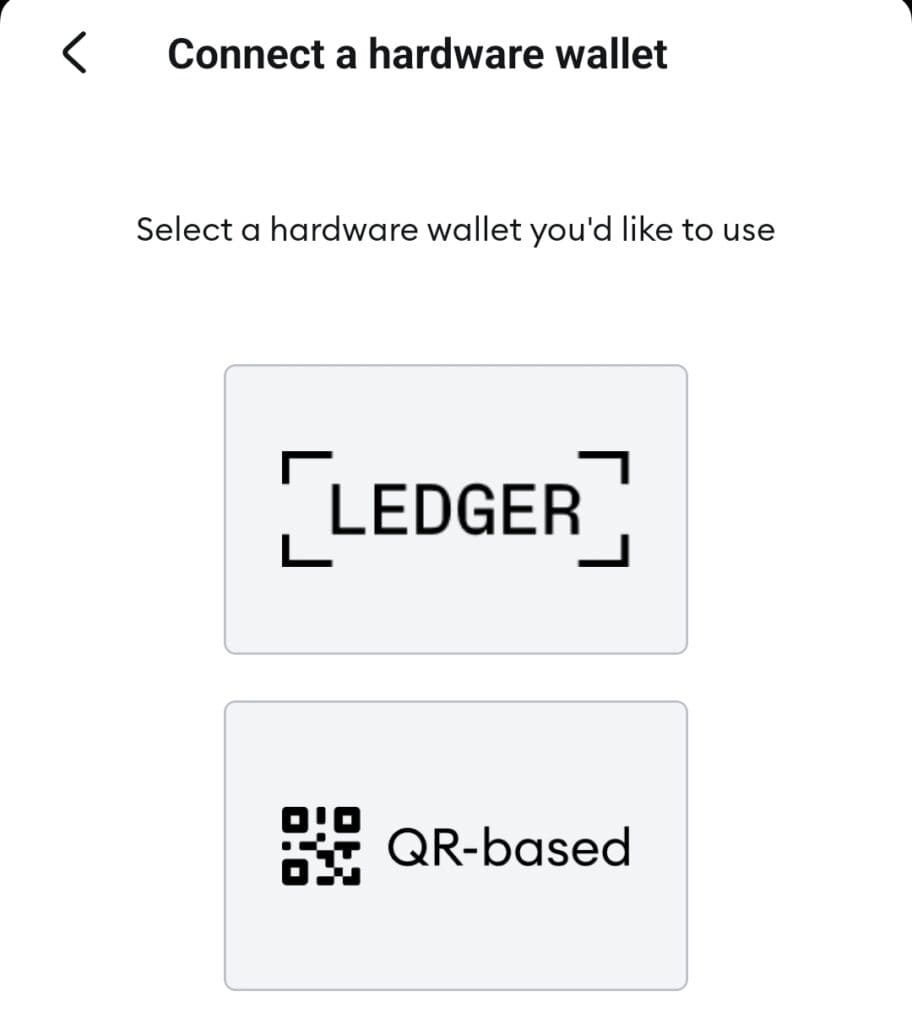
Hardware Wallet Integration (Trezor, Ledger)
MetaMask lets you connect a hardware wallet for extra security when managing crypto and NFTs.
Instead of relying only on a browser extension, you can link devices like Ledger Nano S or Trezor Model T to sign transactions safely. Here’s what this allows:
Enhanced security: Your private keys never touch your computer or the MetaMask extension.
Easy connection: Set up your Ledger or Trezor via USB and link it directly inside MetaMask.
Cold storage + Web3 access: Store your assets offline but still use DeFi apps like Aave or SushiSwap.
For example, you could lend stablecoins on Compound using MetaMask, but your Ledger device would physically approve each transaction. This creates a strong extra security layer while staying active in DeFi.
-
MetaMask Portfolio dApp (Track Assets Across Wallets)
MetaMask recently launched a Portfolio dApp where you can monitor multiple wallets, NFTs, and assets in one dashboard.
Instead of opening different apps or spreadsheets, you can track your entire Web3 portfolio at a glance. How it helps:
Multi-wallet view: Connect multiple wallets (hardware or software) and see all balances together.
NFT and DeFi tracking: Visualize NFTs and DeFi positions like staked tokens or liquidity pools.
Cross-chain overview: Supports Ethereum, BNB Chain, Polygon, and more.
For instance, you can connect your main MetaMask wallet and your Ledger address to check your Aave positions, OpenSea NFTs, and Uniswap LP tokens—all in one place without switching tabs.
-
Custom Gas Controls (Speed Up or Save Fees)
MetaMask gives you the option to manually adjust gas fees during transactions, giving you more control over speed and costs.
This can be crucial during network congestion or if you want to optimize costs for frequent transactions. Here’s how you can benefit:
Adjustable fees: Set your gas price higher to speed up or lower to save ETH during quiet periods.
Custom transaction settings: Set gas limit, gas price, and priority fee manually if needed.
Retry or speed up stuck transactions: Use “Speed Up” or “Cancel” options if a transaction is pending too long.
For example, if gas spikes during an NFT mint, you can manually boost your gas fee in MetaMask to confirm faster and avoid missing the opportunity.
-
Buy Crypto with Fiat (Credit Card, Apple Pay, Bank Transfer)
MetaMask offers built-in fiat-to-crypto purchases, making it easy to buy ETH and other tokens without leaving the wallet.
You can fund your MetaMask directly using third-party providers like MoonPay, Transak, or Sardine. Main options include:
Payment methods: Depending on your country, you can use credit cards, Apple Pay, Google Pay, or bank transfers.
Quick onboarding: New users can buy small amounts of ETH with dApps or DeFi.
Multiple providers: MetaMask shows options and estimated fees for picking the best one.
For instance, if you're new to DeFi and want to swap tokens on Uniswap, you can first buy $100 of ETH inside MetaMask and start using apps immediately—no exchange account needed.

Common Mistakes to Avoid When Using MetaMask Wallet
Even though MetaMask is easy to use, a few common mistakes can cause major problems if you're not careful. Here's what to watch for:
Not backing up your seed phrase: If you lose your recovery phrase and your device fails, your funds are gone forever. Always store it offline in a safe place.
Falling for phishing attacks: Fake websites and pop-ups often trick users into sharing private keys. Always double-check URLs and never share your seed phrase.
Sending tokens on the wrong network: Some tokens have different versions across networks. Make sure you are sending to a compatible address (e.g., ERC-20 vs BEP-20).
Ignoring gas fees settings: If you rush transactions without checking gas settings, you might pay too much or get stuck waiting for confirmations.
Overlooking hardware wallet options: If you hold large amounts of crypto, not pairing MetaMask with a hardware wallet can expose you to hacks.
By avoiding these mistakes, you'll have a much safer and smoother experience using MetaMask across different networks and dApps.
FAQ
MetaMask is designed for Ethereum and EVM-compatible chains. It doesn't natively support Bitcoin, but you can use wrapped BTC (WBTC) on Ethereum.
MetaMask is secure if used properly, but for storing large sums, it's best to connect it with a hardware wallet for added protection.
If you forget your password, you must reset the wallet by reinstalling MetaMask and restoring access using your secret recovery phrase.
Yes, you can create and manage multiple accounts inside one MetaMask wallet. Switching between them only takes a few clicks in the interface.
If you lose your recovery phrase, there’s no way to recover your wallet or funds. It’s essential to back it up securely when setting up.
MetaMask itself is secure, but if your device is compromised, your wallet could be too. Always update your software and beware of phishing scams.
Yes, MetaMask is completely free to install and use. However, you will still need to pay network gas fees when sending transactions.
You can manually add a new network using the settings menu or use tools like Chainlist to automatically add verified network details.
Yes, MetaMask has a standalone mobile app that acts as both a wallet and a Web3 dApp browser, available for iOS and Android.
MetaMask can display NFTs on its mobile app natively. On desktop, you’ll need to connect to NFT marketplaces like OpenSea to manage them.
