Table Of Content
Ledger is a hardware wallet known for storing cryptocurrencies offline, offering greater protection from online threats.
Coinbase, on the other hand, is a user-friendly exchange where many investors first buy crypto. While Coinbase makes buying easy, storing long-term assets on a device like Ledger reduces the risk of hacks.
Using both—Coinbase for buying and Ledger for storage—is a common strategy for securing Bitcoin, Ethereum, and other cryptocurrencies.
Feature | Coinbase | Ledger |
|---|---|---|
Purpose | Buy, sell, and trade crypto | Store crypto securely offline |
Custody Type | Custodial | Non-custodial (you control keys) |
Security Risk | Higher (online exposure) | Lower (offline storage) |
Best For | Buying and trading | Long-term holding & security |
Supports Fiat? | Yes | No |
How to Move Cryptos from Coinbase to Ledger
Moving your crypto from Coinbase to a Ledger wallet is a smart way to boost security. This step-by-step guide ensures your Bitcoin and other assets are safely transferred to cold storage.
Step 1: Set Up Your Ledger Device
Before transferring, make sure your Ledger wallet is properly set up and initialized.
Download Ledger Live: This is the official companion app to manage your crypto assets.
Install the Bitcoin App: Open Ledger Live, go to “Manager,” and install the Bitcoin app on your device.
Create a Wallet: Generate a new wallet and carefully write down your 24-word recovery phrase.
Once your Ledger is ready, you'll have a secure wallet to receive your crypto. This setup ensures your keys are offline, reducing exposure to hacks.

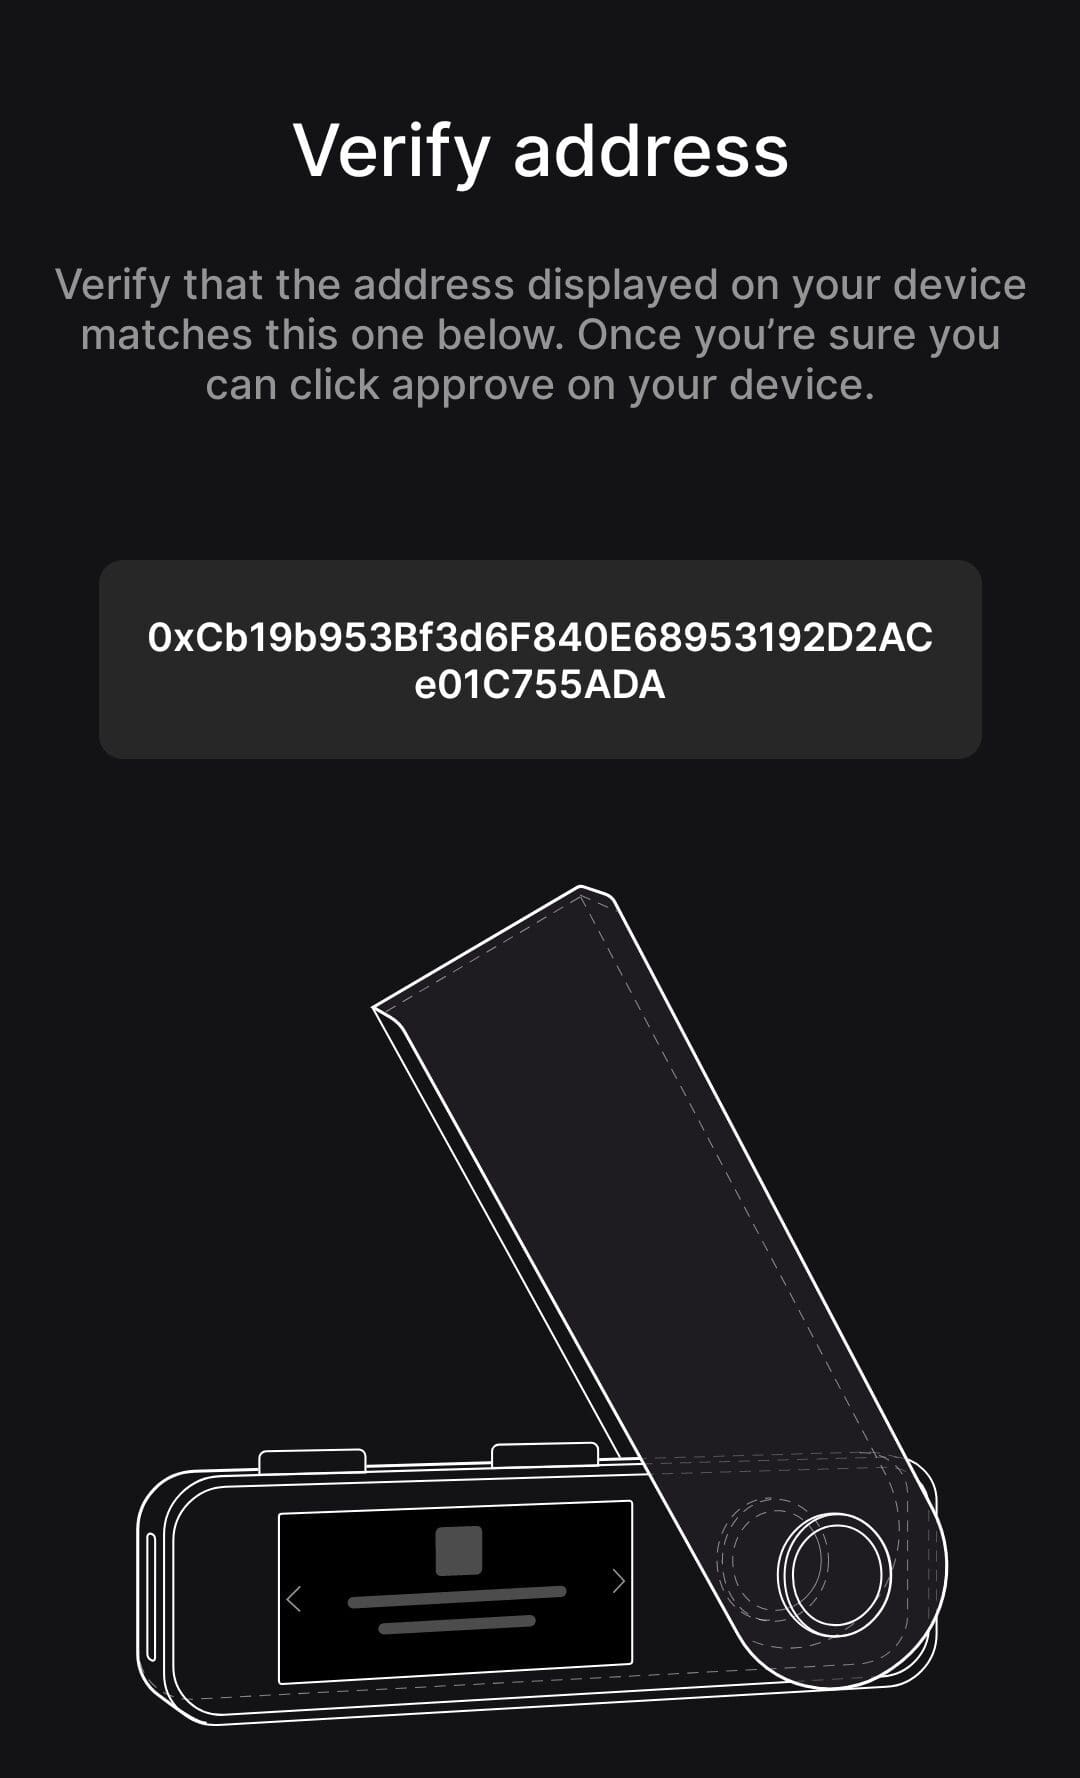
Step 2: Find Your Ledger Wallet Address
In order to receive funds, you need the public address from your Ledger device.
Open Ledger Live: Navigate to “Accounts” and add a Bitcoin account if you haven’t yet.
Generate Receive Address: Click “Receive,” then confirm the address on your device.
Double-Check Details: Always verify the address on the Ledger screen—not just your computer.
Confirming on the device is crucial because it ensures the address hasn’t been spoofed by malware on your computer.
Step 3: Log Into Your Coinbase Account
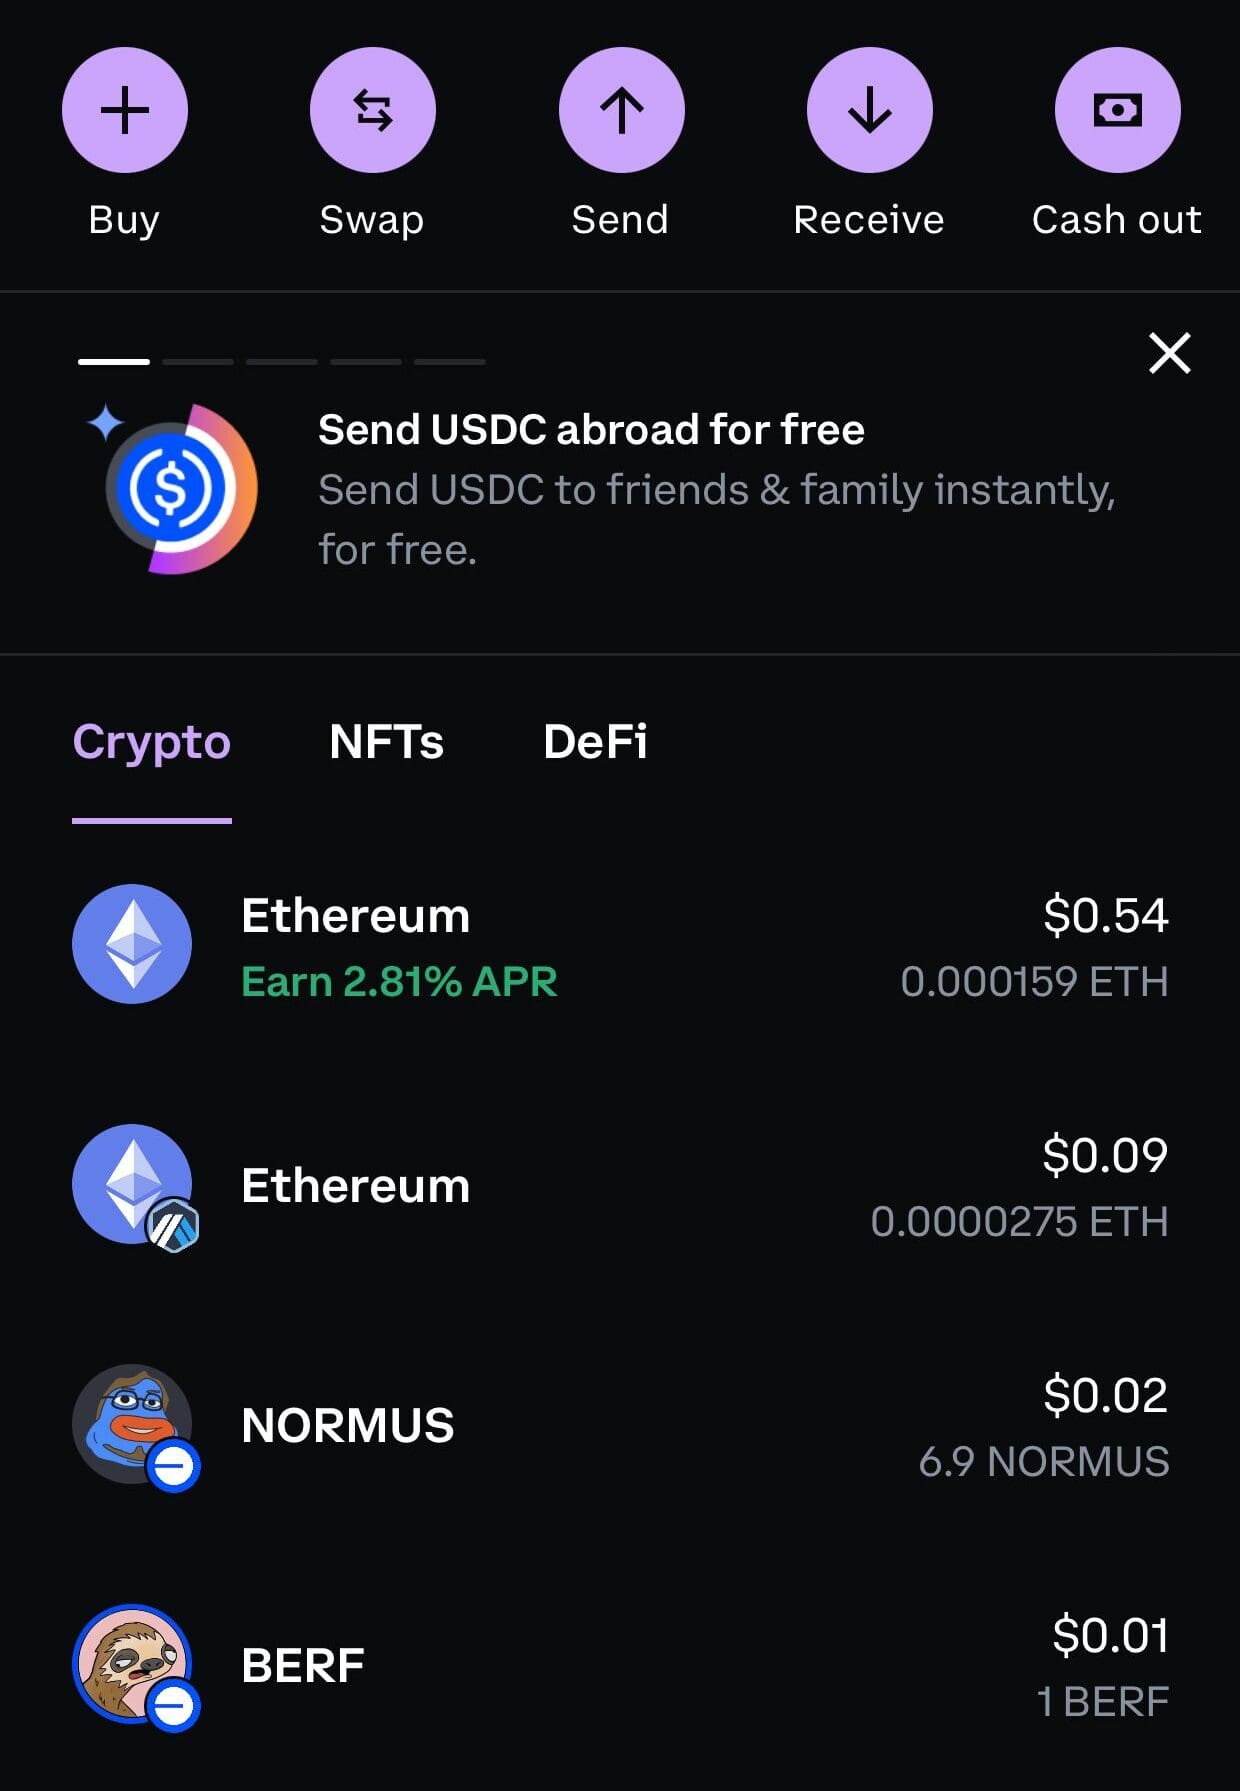
Next, head over to Coinbase where your crypto is currently held.
Access Your Portfolio: From the homepage, click on “Send” for the asset you want to transfer.
Paste Your Ledger Address: Enter the Ledger wallet address as the recipient.
Choose Amount and Network: Make sure to select the right network (e.g., Bitcoin mainnet).
Double-checking the network and address is critical—sending to the wrong one can result in permanent loss.
Step 4: Complete and Confirm the Transfer
Now it’s time to authorize the transaction and wait for network confirmation.
Two-Factor Authentication: Coinbase may prompt you to confirm the transaction via text or app.
Transaction Fees: Check the estimated network fee before finalizing.
View Transfer Status: You can track the transaction status under Coinbase’s “Recent Activity.”
This step confirms the transaction is live on the blockchain. Depending on network congestion, transfers can take a few minutes to an hour.
Step 5: Verify Funds in Ledger Live
Finally, ensure the crypto has safely arrived in your Ledger wallet.
Sync Ledger Live: Go to your Bitcoin account and click “Sync” to update your balance.
Check Blockchain Confirmation: Click on the transaction ID to view it on a blockchain explorer.
Leave It Offline: Your funds are now safely stored in cold storage.
Verifying the successful arrival is key. Once complete, your assets are offline and protected from online vulnerabilities.
Common Transfer Mistakes & How to Avoid Them
Mistakes during crypto transfers can lead to delays, loss of funds, or security risks. Here’s how to prevent them:
Using the Wrong Address Format: Double-check that the address matches the crypto type (e.g., don’t send BTC to an ETH address). Some formats look similar but are incompatible.
Skipping Ledger Confirmation: Always confirm the receiving address directly on your Ledger device to avoid malware-altered addresses.
Choosing the Wrong Network: Many assets exist on multiple blockchains (e.g., USDT on Ethereum and Tron). Sending on the wrong one could lock funds.
Sending Before Testing: For large amounts, always send a small test transaction first to verify the process and address accuracy.
Ignoring Fees or Delays: Network congestion may increase fees or delay processing. Monitor blockchain explorers to track confirmations.
Following these precautions can ensure a smooth, secure transfer of your assets.
FAQ
Yes, you can, but it’s safer to test with a small amount first, especially if it's your first time or a new address.
Coinbase itself doesn't charge a sending fee, but you will pay a network fee (e.g., miner fees on Bitcoin or Ethereum).
No, once the transfer is complete and confirmed on the blockchain, your Ledger can be safely disconnected and stored.
The funds could be lost permanently. Always check the token type and network before confirming the send.
No. Blockchain transactions are irreversible. Double-check every detail before clicking “Send.”
Ledger Live updates after syncing. If the transaction is confirmed but not showing, refresh Ledger Live or check blockchain explorer.
Coinbase may set daily limits based on your verification level. Ledger has no limit, as it’s a storage device.
You’ll see confirmations on both Coinbase and a blockchain explorer. Ledger Live will reflect the new balance after syncing.
Yes, it’s a good idea to keep Ledger Live and firmware updated to avoid compatibility issues and bugs.
Yes, but you may need to install the respective app in Ledger Live first and ensure those coins are supported.
